
Home mechanic (basic tools) · Time: 30 to 60 min per caliper (editorial estimate) (estimate)
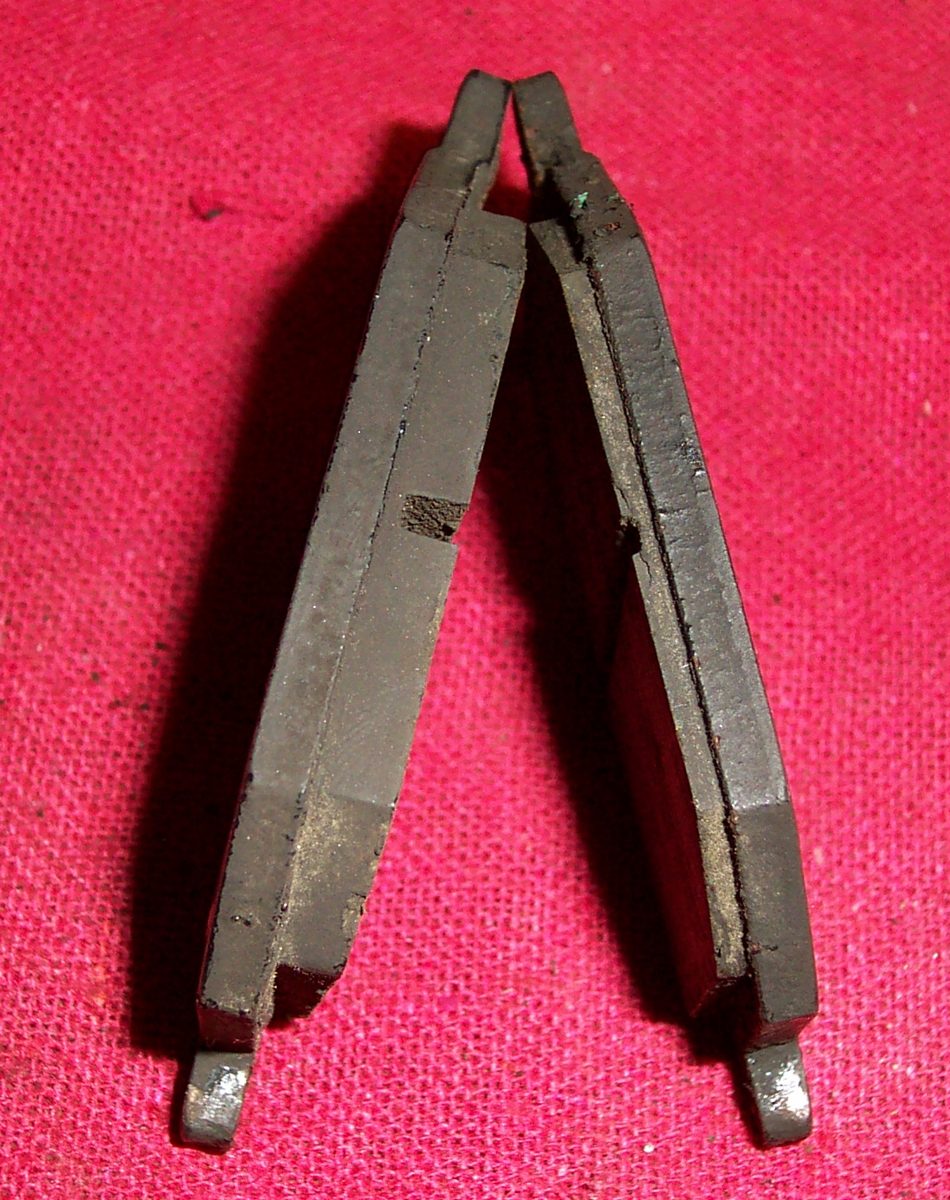
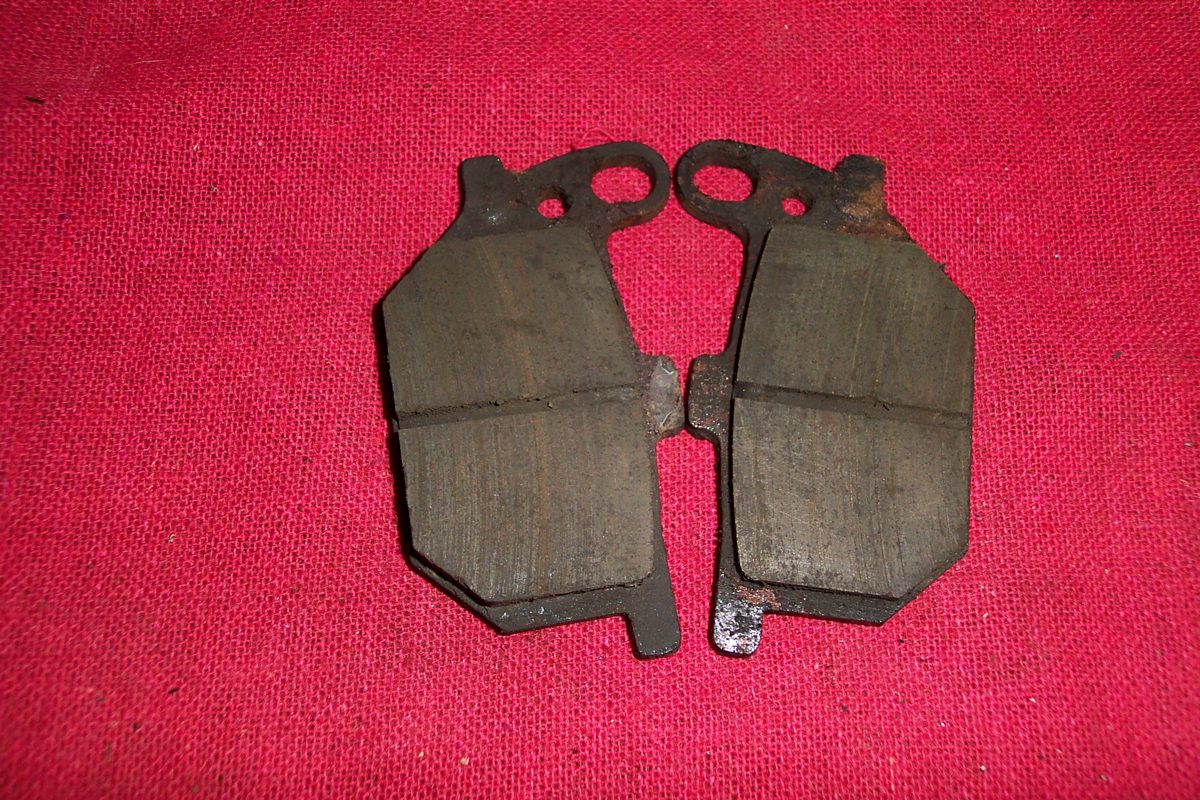
This job takes out worn pads and fits new ones. Do it when the friction material reaches the limit, when pads are soaked in oil or brake fluid, or when a pad is cracked. Always change both pads in a caliper together.
Safety
- Brakes are safety parts. If you are not sure you can do this correctly, ask a workshop. A pad pin that falls out can lock or free the wheel without warning.
- Put the bike on its centre stand or a paddock stand on firm ground.
- Brake dust is harmful. Do not blow it with compressed air. Wipe it with a damp rag or brake cleaner.
- Brake fluid damages paint and skin. Cover painted parts and wear gloves and glasses.
- CBS or ABS bikes: pushing pistons back moves fluid into more than one reservoir or through the ABS unit. On the K-Light 125, the front caliper middle piston is fed from the CBS unit, so watch the front and the rear/CBS reservoirs. If the system needs bleeding afterwards, stop and use the workshop routine in Check a combined braking system (CBS) or Diagnose an ABS warning light.
You need
- New pads that match your bike's make, model, year and front or rear position. Pads look similar but the backing plate shape, pin holes and compound differ.
- New pad pin clips if the old ones are bent. Anti-squeal shims if fitted.
- The caliper bolt and pad pin torques from your bike's manual. No caliper torque is given here: the K-Light 125 manual gives two different values for the same front caliper bolt, so confirm the right one first.
Steps
- Look at how the pads, spring plate and any shims are fitted. Take a photo.
- If the pad pin is easier to loosen with the caliper on the bike, crack it loose now (K-Light 125 manual does this).
- Open the reservoir cap and put a rag round it. Pushing pistons back raises the fluid level; remove extra fluid with a clean syringe if it nears the top.
- Remove the pad pin clip and pin, or the caliper bolts if the pads only come out with the caliper off. Do not let the caliper hang on its hose: tie it up.
- Remove the pads and the spring plate.
- Clean the caliper with brake cleaner. Look at the piston seals and dust boots. Wet fluid round a piston means a leak: stop and go to Rebuild a brake caliper.
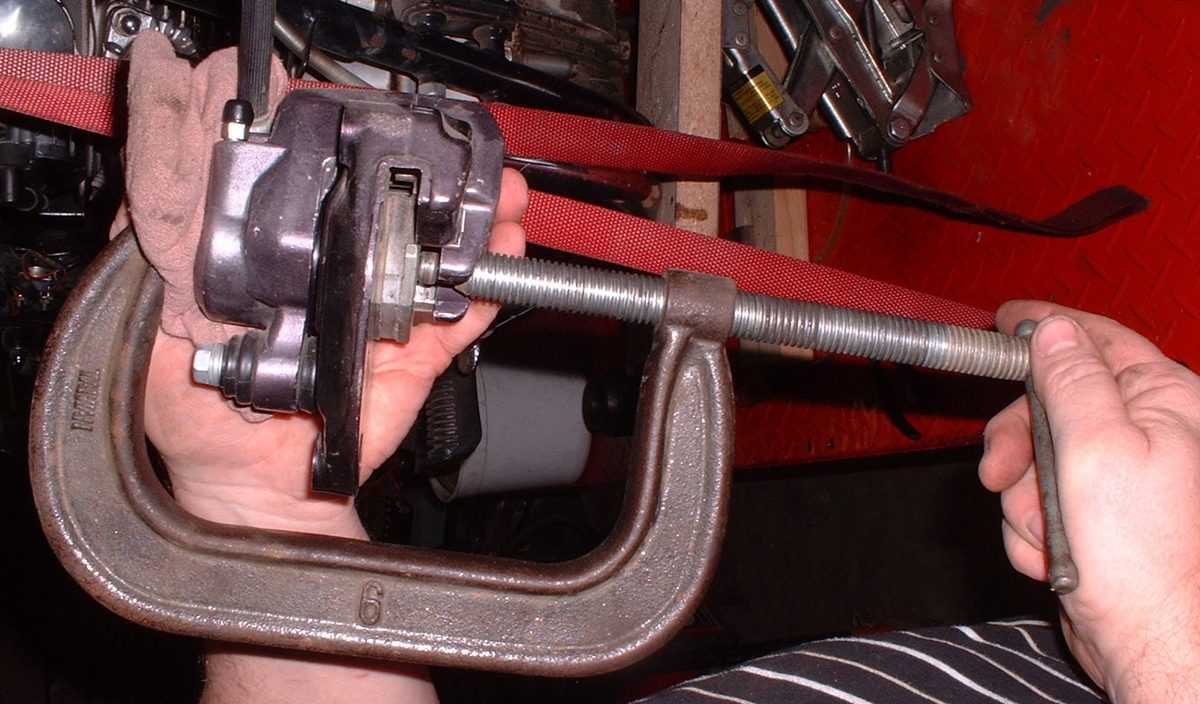
- Push the pistons straight back with a G-clamp or pad spreader and an old pad. Push gently and evenly. If a piston will not move or moves only on one side, do Clean a brake caliper and free the pistons.
- Check the disc as in Check a brake disc. New pads on a worn or warped disc will not work well.
- Clean the pad pin and slide pins. A pin with steps or rust is replaced. Put a thin film of the specified grease on slide pins only, never on pads or disc.
- Fit the spring plate, shims and new pads the same way round as the old ones, friction side to the disc.
- Fit the pad pin and clip, and the caliper, and tighten to the manual torque.
- Pump the lever or pedal until it is firm. Do this before you move the bike. The first pulls do nothing.
- Check the fluid level and refit the cap.
Check your work
- Lever or pedal is firm after two or three pulls and does not sink when held.
- The wheel turns with only a light brush of the pads.
- Pin clips are in place.
- Bed in new pads: ride slowly in a safe place and make several gentle stops from moderate speed. Braking is weaker until the pads bed in.
If it did not fix the problem
- Lever spongy after the job: Brake lever or pedal feels spongy.
- Wheel drags: Check for brake drag.
- Squeal remains: Brakes squeal.
Reference values (K-Light 125)
| Item | Value | Source |
|---|---|---|
| Pad service limit | 3 mm (new 6.0 mm), front and rear | K-Light 125 manual, PDF p. 66 |
| Front caliper pistons | 3 (lever feeds two, CBS feeds the middle one) | K-Light 125 manual, PDF p. 107 |