
Home mechanic (basic tools) · Time: 45 to 90 min per caliper (editorial estimate) (estimate)
Dirt, rust and old brake dust build up on the caliper pistons and slide pins. A dirty piston does not return after braking, so the pad rubs (drag), wears unevenly and gets hot. This job cleans the pistons and slides without opening the hydraulic seals. If a piston is pitted, leaking or seized, the caliper needs a rebuild instead.
Safety
- Support the bike securely. Tie the caliper up; never let it hang on the hose.
- Brake cleaner and brake fluid hurt eyes. Wear glasses and gloves. Do not blow brake dust with air.
- Never pump the lever with the pads out and nothing to stop the pistons, beyond the small movement in step 4. A piston pushed out too far leaks fluid and lets air in.
- Clean only with brake cleaner, clean brake fluid or alcohol. Petrol, diesel, paraffin and engine oil swell the rubber seals (the K-Light 125 manual allows only brake fluid, isopropyl alcohol or ethanol).
You need
- The caliper bolt and pad pin torques from your manual. No value is given here because the K-Light 125 manual lists two different front caliper torques.
- New pads if the old ones are soaked in fluid or oil (contaminated pads are replaced, not cleaned).
Steps
- Remove the pads as in Replace disc brake pads, then remove the caliper from its bracket or fork leg.
- Spray brake cleaner on the caliper and brush off the dirt. Catch the runoff in a tray.
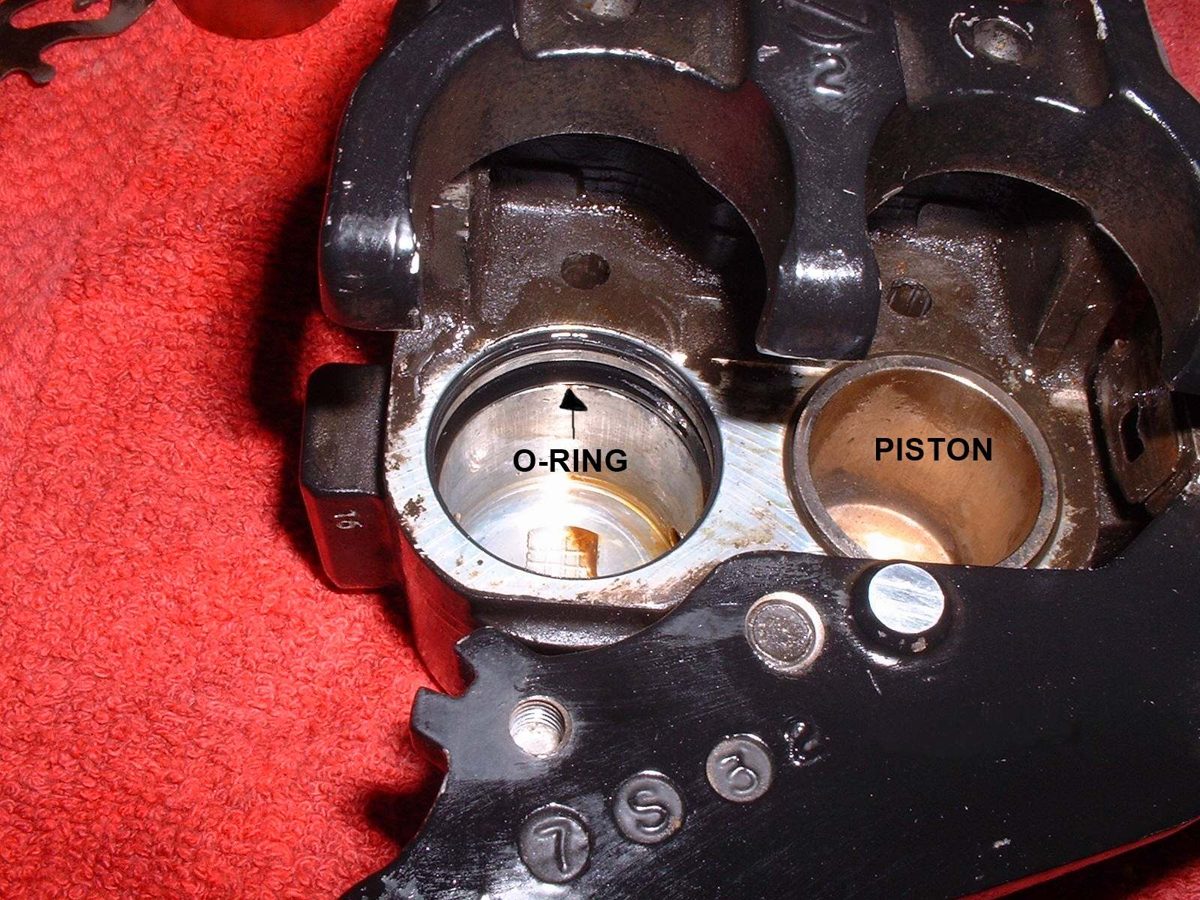
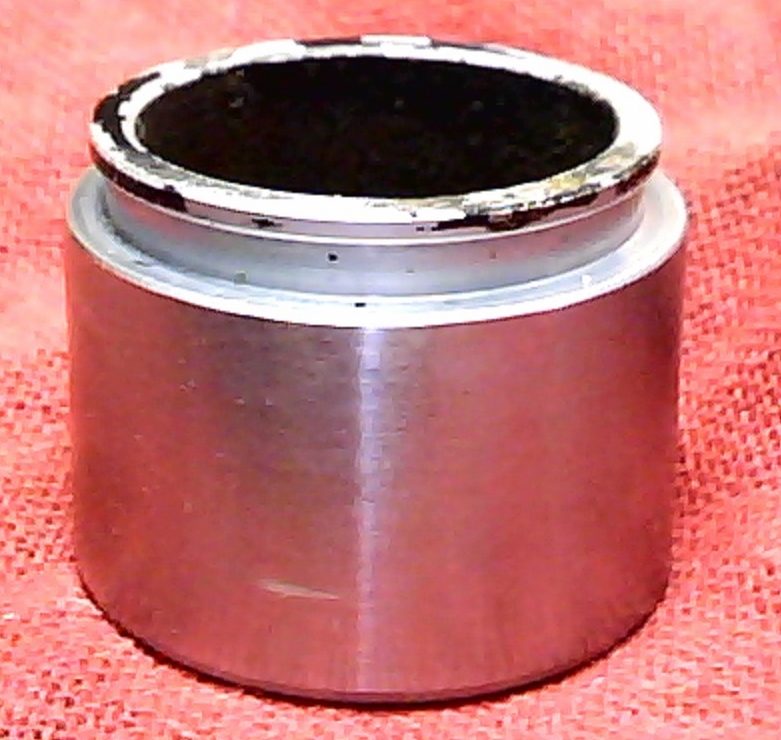
- Look at each piston and dust boot with the torch. Torn boots, rust pits on the piston face side, or wet fluid mean a rebuild: go to Rebuild a brake caliper.
- Put a piece of wood or an old pad between the pistons. Pull the lever very gently so each piston moves out a few millimetres only. Do not let any piston come out of its bore.
- Clean the shiny part of each piston that was inside: brake cleaner on a rag, then a smear of clean brake fluid.
- Push each piston fully back with the G-clamp or spreader. It should move smoothly and evenly. Repeat steps 4 to 6 two or three times.
- If one piston will not move out while the others do, hold the moving pistons back with the wood and work only the stuck one. If it still will not move, stop: rebuild.
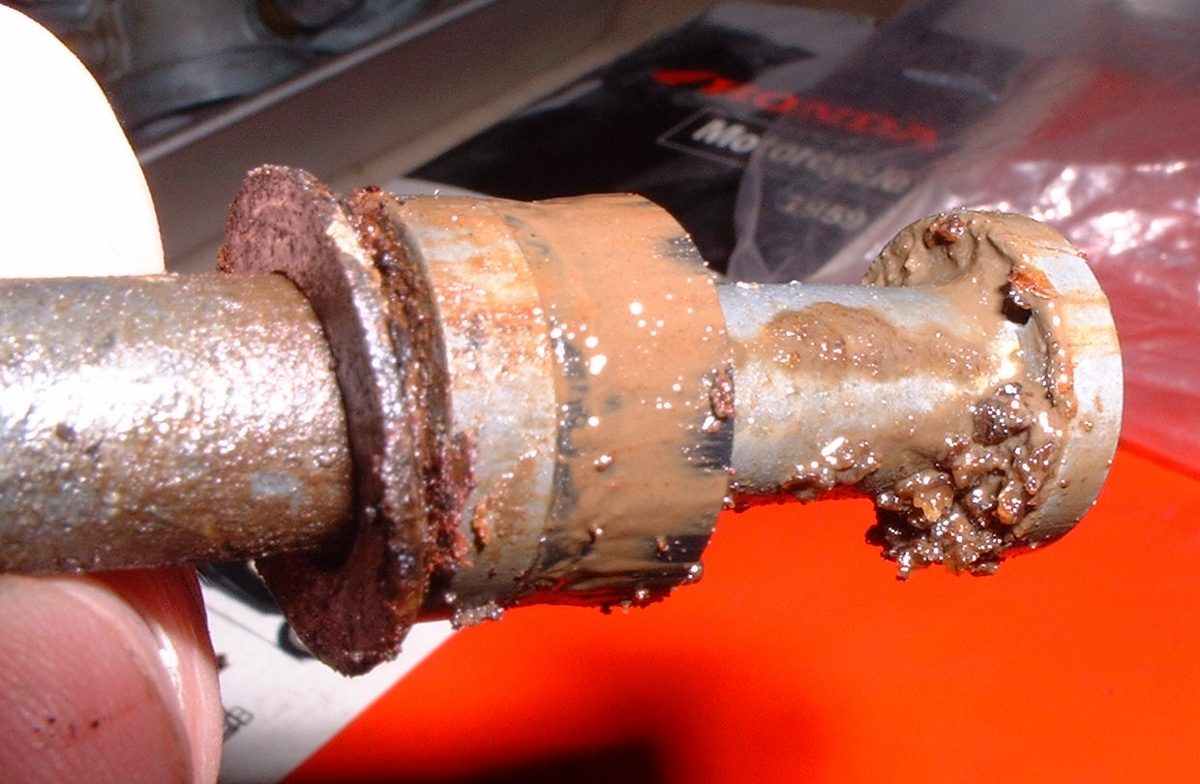
- Pull out the slide pins (sliding calipers). Clean the old grease, look for rust and steps, and check the rubber boots. Grease them thinly with the specified grease and refit.
- Refit the caliper, pads, pins and clips. Tighten to the manual torque.
- Pump the lever or pedal until firm before moving the bike. Check the fluid level.
Check your work
- All pistons move in and out evenly.
- With the brake released the wheel spins with only a light touch of the pads. See Check for brake drag.
- The caliper slides freely on its pins.
- Lever firm; no fluid at the pistons after a few minutes of pumping.
If it did not fix the problem
- Wheel still drags or the disc is hot after a short ride: Brake caliper sticks or is seized.
- Pistons free but the brake drags when you release the lever: the master cylinder may not be returning. See Check the brake master cylinder.