
Home mechanic (basic tools) · Time: 20 to 40 min (editorial estimate) (estimate)
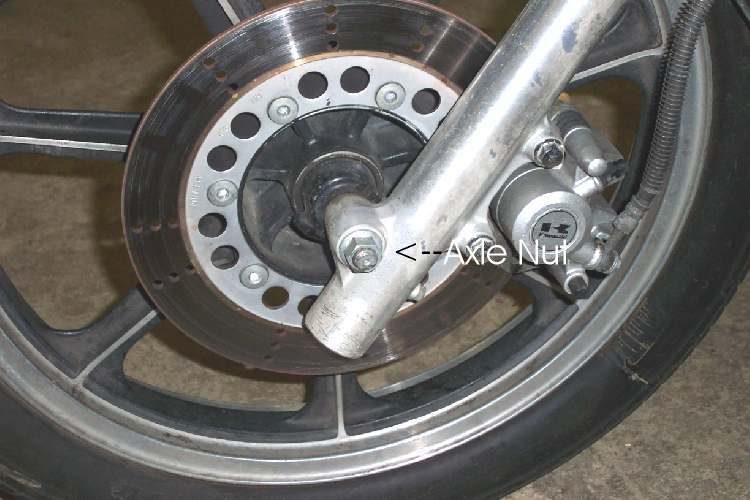
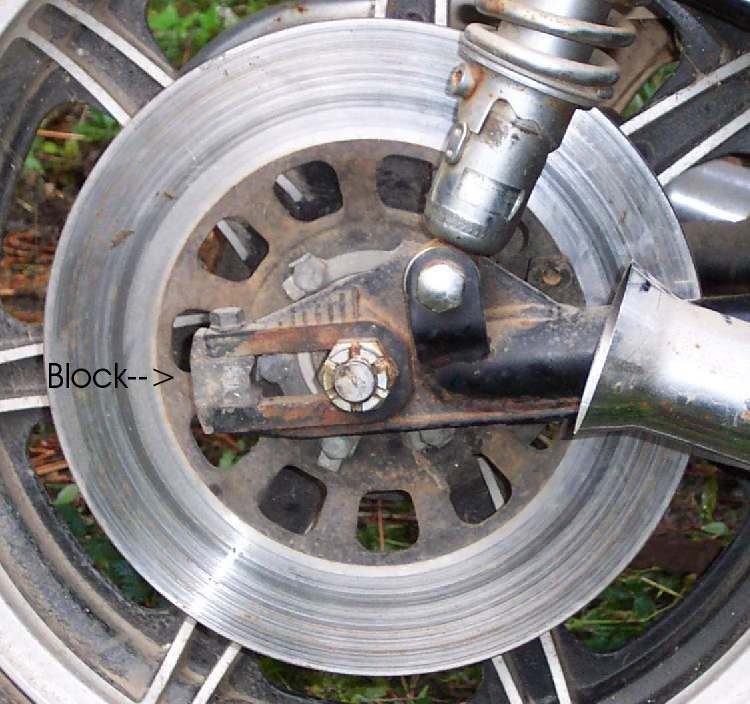
The disc (also called a rotor) is the steel plate bolted to the wheel hub that the pads squeeze. It wears thinner, can bend (runout, meaning it wobbles from side to side as the wheel turns), and can crack from heat. This check measures thickness, looks for damage and checks runout. Do it when you change pads and whenever the brake pulses or grinds.
Safety
- Let the disc cool first. A disc can burn skin after a short ride.
- Support the bike so the wheel is off the ground and the bike cannot fall.
- Keep oil and grease off the disc. Clean your fingers before touching it.
You need
- A micrometer is best for thickness; a vernier caliper is acceptable if you measure on the worn track, not the outer lip.
- A dial gauge on a magnetic stand fixed to the fork leg or swingarm for runout.
- The thickness limit and runout limit for your bike. They are usually stamped on the disc ("MIN TH" followed by a number) or given in the manual.
Steps
- Clean the disc with brake cleaner.
- Look at both faces with a torch while you turn the wheel by hand. Note deep grooves, a step or lip at the outer edge, blue or dark patches, and cracks, especially between the holes. Any crack: replace the disc and do not ride.
- Check the disc bolts are present and tight. A loose disc knocks and judders. Tighten only to the model torque in your manual.
- Measure thickness at several points round the disc, on the area the pads touch. Use the smallest reading. K-Light 125 limits: front 3.0 mm (new 4.0 mm); rear 4.0 mm (new 5.0 mm). Other bikes: use the stamped or manual value.
- Before checking runout, make sure the wheel bearings are good. A loose bearing gives a false runout reading. See Check wheel bearings.
- Fix the dial gauge so its tip touches the disc face near the outer edge. Set the dial to zero.
- Turn the wheel slowly one full turn and note the largest swing of the needle. K-Light 125 limit: 0.15 mm, front and rear.
- Write down the readings.
Check your work
- You have thickness readings round the disc and a runout reading, and you have compared them with the limit for your bike.
- If the disc is below the thickness limit, over the runout limit, cracked or badly grooved, it is replaced. Fit new pads with a new disc. Disc replacement uses the model-specific bolt torque and thread locker from your manual.
If it did not fix the problem
- Disc in limits but the brake still pulses: check wheel bearings and wheel runout with Check a wheel for runout, and see Brakes pulse or judder.
- Uneven pad marks on the disc: Brake pads wear unevenly.
Reference values (K-Light 125)
| Item | Value | Source |
|---|---|---|
| Front disc thickness, new / limit | 4.0 mm / 3.0 mm | K-Light 125 manual, PDF p. 109 |
| Rear disc thickness, new / limit | 5.0 mm / 4.0 mm | K-Light 125 manual, PDF p. 109 |
| Disc runout limit, front and rear | 0.15 mm | K-Light 125 manual, PDF p. 112 and 114 |
| Disc diameter, front / rear | 280 mm / 240 mm | K-Light 125 manual, PDF p. 109 |