
Home mechanic (basic tools) · Time: 45 to 90 min (estimate, screw-and-locknut type) (estimate)
Valve clearance (tappet gap) is a small gap between the rocker and the valve stem when the valve is closed. It lets the valve close fully when hot metal grows. Too much gap makes a ticking noise and the valve opens less. Too little gap can hold the valve slightly open, which loses compression, makes starting hard and burns the valve. Many commuter singles, including the K-Light 125, use a screw and locknut adjuster on each rocker. The K-Light is a pushrod engine: the camshaft is down in the crankcase and pushrods move the rockers. Engines with shims under buckets need a workshop.
Safety
- Work on a cold engine. The manual values are for a cold engine.
- Keep the bike stable on the centre stand.
- Remove the spark plug so the engine turns easily and cannot fire.
You need
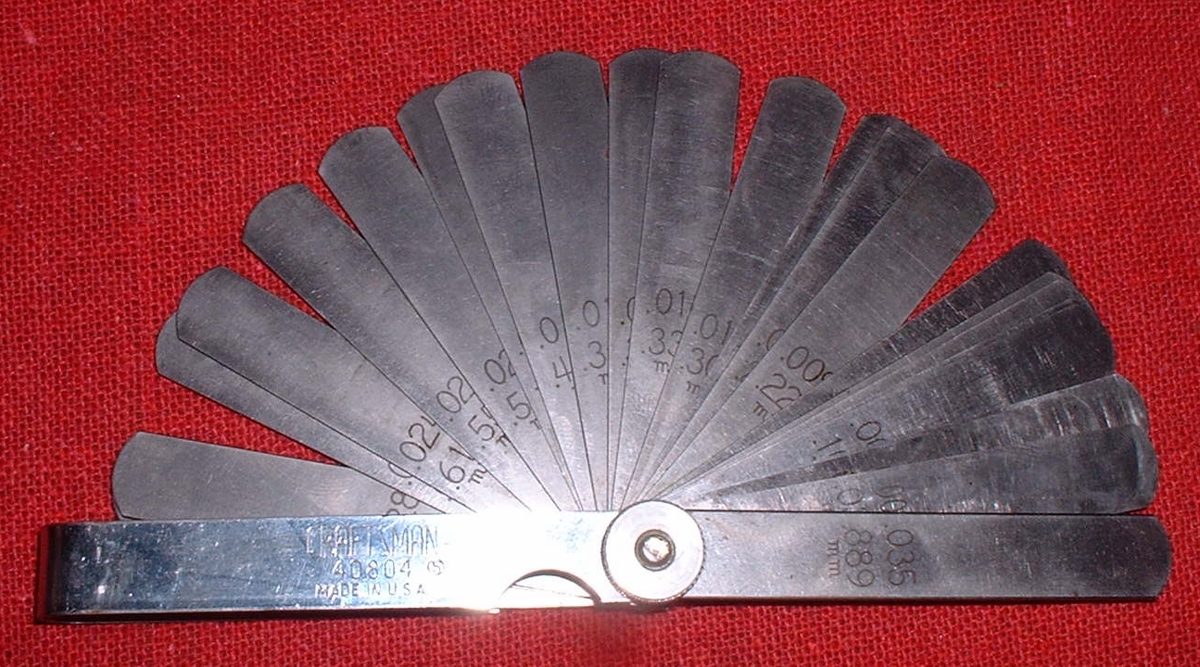
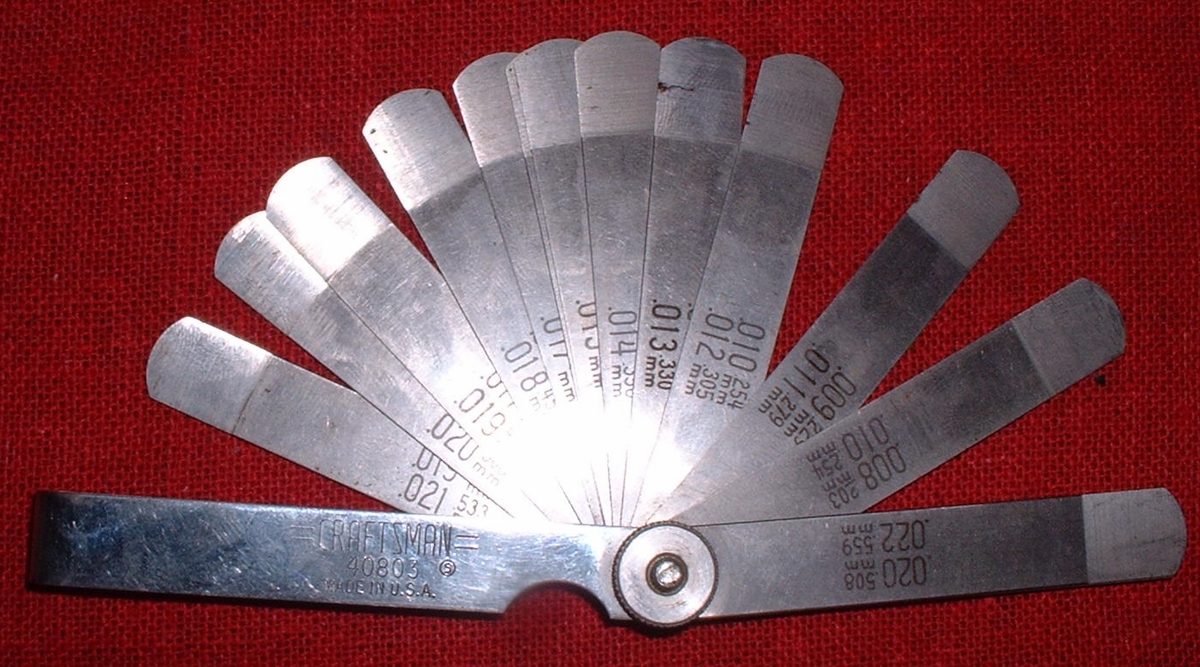
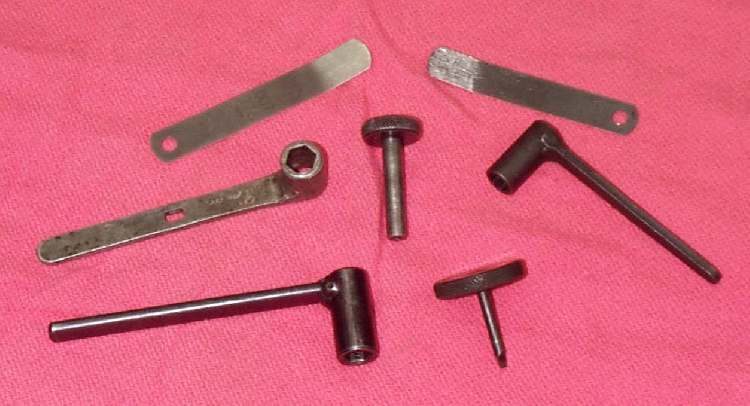
- Feeler gauges that include your clearance. K-Light 125: inlet and exhaust 0.05 to 0.07 mm, cold.
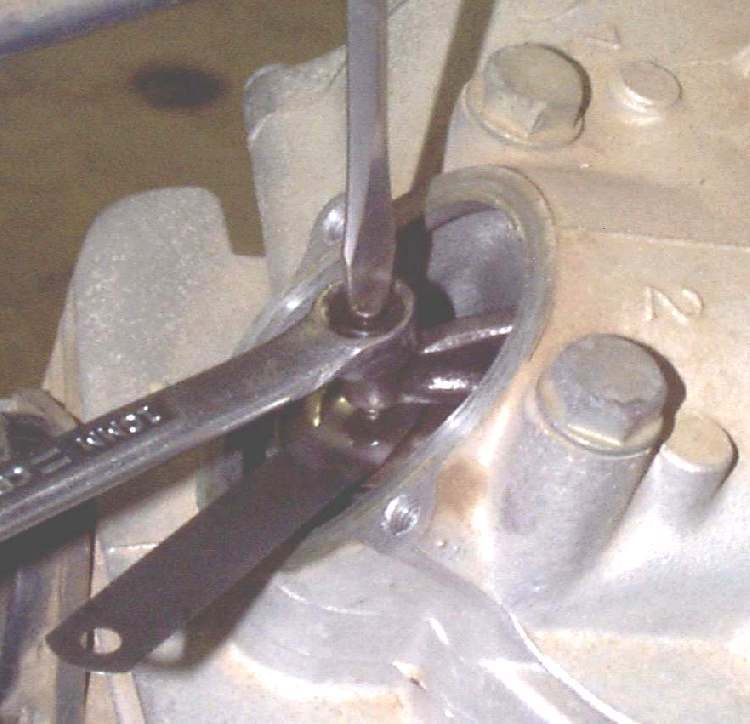
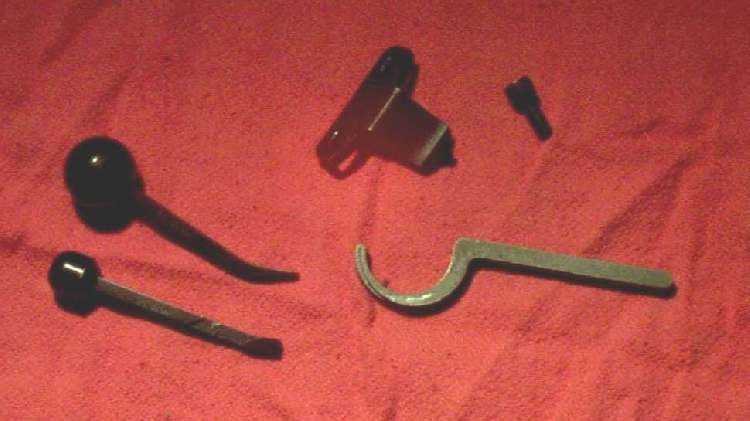
- The adjuster tool or a small spanner, and a spanner for the locknut.
- New O-rings for the valve inspection caps if they are flat or cracked.
Steps
- Let the engine cool fully (overnight is best).
- Remove the spark plug. Remove the valve inspection caps or the head cover as your bike requires.
- Remove the timing inspection plug on the left cover, or the cap over the crankshaft nut.
- Turn the crankshaft in its normal running direction with a socket on the flywheel nut. The K-Light manual says to turn the flywheel anticlockwise with a special wrench; check the direction arrow or your manual. Watch the intake rocker press the valve open and then let it close.
- Keep turning slowly until the "T" mark on the flywheel lines up with the index mark. The piston is now at top dead centre on compression and both valves are closed. Both rockers should have a little free movement.
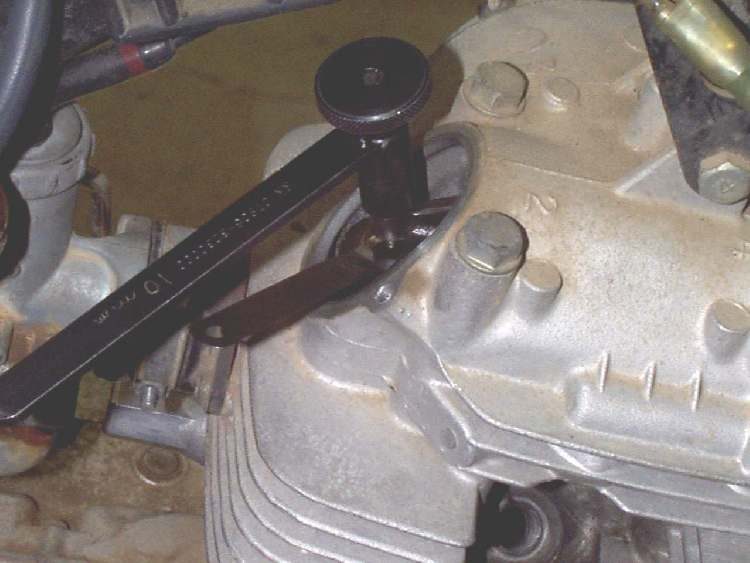
- Slide the correct feeler gauge between the adjuster screw and the valve stem. It should slide with a light drag.
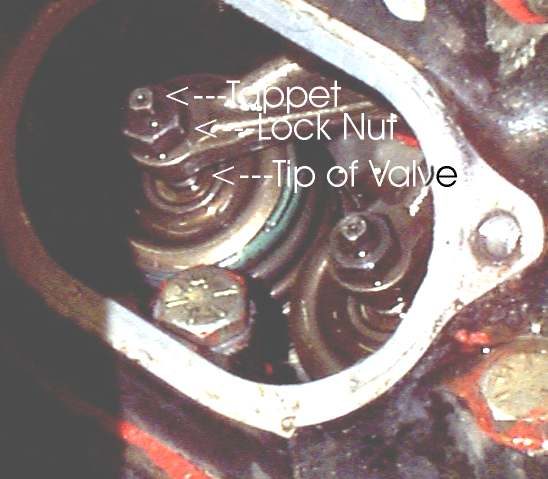
- To adjust: hold the adjuster screw, loosen the locknut, turn the screw in to reduce the gap or out to increase it, until the gauge slides with a light drag.
- Hold the screw still and tighten the locknut. K-Light 125: valve adjuster locknut 10 to 15 N·m.
- Check the gap again; tightening the locknut can change it. The K-Light manual adjusts the exhaust first, then the intake.
- Turn the engine two full turns and check both valves again at "T".
- Refit caps with good O-rings, the timing plug and the spark plug.
Check your work
- Both valves have the specified gap at TDC compression with the locknuts tight.
- The engine starts normally and the ticking is quieter. A light tick is normal on many screw-adjuster engines.
If it did not fix the problem
- Gap closes up again soon: the valve may be sinking into its seat. See Assess the top end (cylinder, piston, valves).
- Noise remains: Ticking noise from the top of the engine.
- On a fuel-injected engine the K-Light manual links idle problems to clearance: exhaust clearance too large can raise idle, too small can drop it.
Reference values (K-Light 125)
| Item | Value | PDF page |
|---|---|---|
| Valve clearance, inlet and exhaust, cold | 0.05 to 0.07 mm | 202 |
| Adjuster locknut | 10 to 15 N·m | 194 |
| Setting position | "T" mark, compression stroke | 60 |