
Home mechanic (basic tools) · Time: 30 to 60 min (estimate)
The left and right handlebar switch housings (switchgear) hold the light, dip, flash, indicator, horn, start and engine stop (kill) switches. Each switch is a small sliding or pressing metal contact. Rain, dust, washing and age leave the contacts dirty or corroded, so a switch works only sometimes, needs to be pressed hard, or makes something flicker. Cleaning usually fixes it. A switch with broken plastic or melted contacts must be replaced.
Safety
- Turn the key off and disconnect the battery negative before opening the housing.
- The right housing often holds the throttle grip. After you refit it, check the throttle snaps shut by itself at every steering position. A sticking throttle can cause a crash. See Throttle sticks or does not snap shut.
- Small springs and steel balls (detents) inside can jump out. Open the housing over a cloth or tray.
- Contact cleaner is flammable. No sparks or flames.
You need
- The switch connector location: follow the switch wire into the headlight shell or under the tank.
- Your bike's switch table (which wires connect in which position), if the manual gives one. The K-Light 125 tables are on PDF p. 105. For example, on the left switch: high beam joins yellow and blue; low beam joins light blue and yellow; horn button joins red/white and brown.
Steps
- Test before opening. Key off. Unplug the switch connector. Meter on continuity (beep or lowest Ω). For each switch position, probe the two wires that should connect. The K-Light manual suggests testing switch continuity at the connector, or off the bike (PDF p. 97). Note which positions fail or beep only sometimes.
- Spray first. Many switches recover with contact cleaner sprayed into the gaps while you work the switch 10 to 20 times. Let it dry, then re-test. If it is fixed, go to step 8.
- Open the housing. Remove the screws under the housing. The two halves come apart around the bar. On the right side, note how the throttle cable sits in the housing before you lift it (K-Light handlebar work, PDF p. 141).
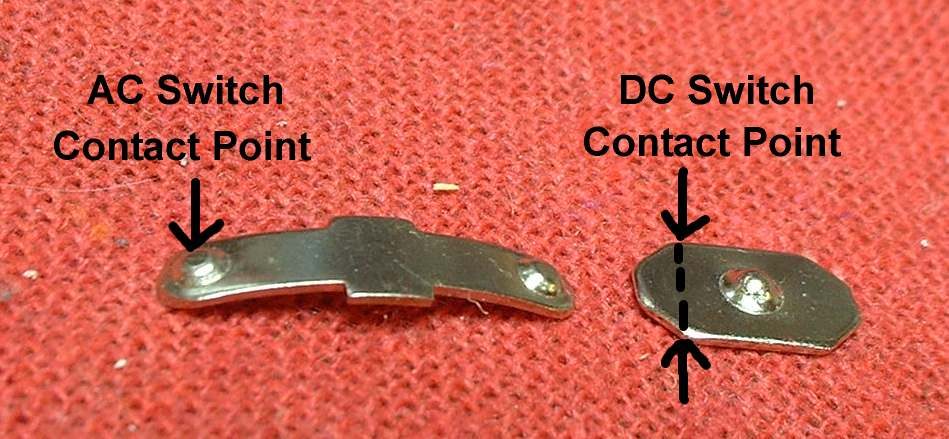
- Look inside. You will see small copper or brass contact plates and sliding contacts with springs. Look for green corrosion, black burnt spots, broken plastic and rust.
- Clean. Remove each slider carefully, noting the order. Spray contact cleaner, wipe the plates with a cloth or cotton bud. Do not file or scrape plated contacts hard.
- Lubricate lightly. A thin film of switch grease or dielectric grease on the sliding parts slows corrosion. Too much grease collects dirt.
- Reassemble. Fit springs, balls and sliders in their places. Check the wires are not pinched between the two halves. Locate the housing pin in the hole in the bar so the housing cannot rotate. Tighten the screws evenly.
- Re-test each position with the meter, then on the bike with the battery reconnected.
- Engine stop switch. If the kill switch was dirty, test that the engine stops with it and starts again: Test the engine stop switch.
- Tie the switch wire so it does not pull tight at full steering lock.
Check your work
- Every position beeps when it should and only then.
- On the bike: dip, high beam, flash, indicators, horn, start and engine stop all work first time.
- The throttle snaps shut at full left lock, centre and full right lock.
If it did not fix the problem
- The switch is good but the circuit still fails: Test a lighting circuit or Find a wiring fault.
- Contacts are burnt or the plastic is broken: replace the switch housing. Burnt contacts mean too much current went through them; check for an over-powered bulb or added accessory: Problems after fitting accessories or an alarm.