
Most wiring faults can be found with two cheap tools: a circuit tester light (a test lamp on a lead) and a multimeter. The test light shows that voltage is present. The multimeter, set to ohms, shows whether a wire or part is joined from end to end. This page covers how to use both and when to choose each.
Safety
- Clip the earth lead on first. Switch the ignition on only for the voltage check, and off again before you unplug or cut anything.
- Keep tester leads away from the chain, wheels and hot exhaust.
- Do not probe the high-tension (spark plug) lead with a meter or a test light. Test the coil by the method in Test the ignition coil and plug cap.
- Use a fully charged battery. A weak battery gives false results. See Test and charge a 12 V battery.
You need
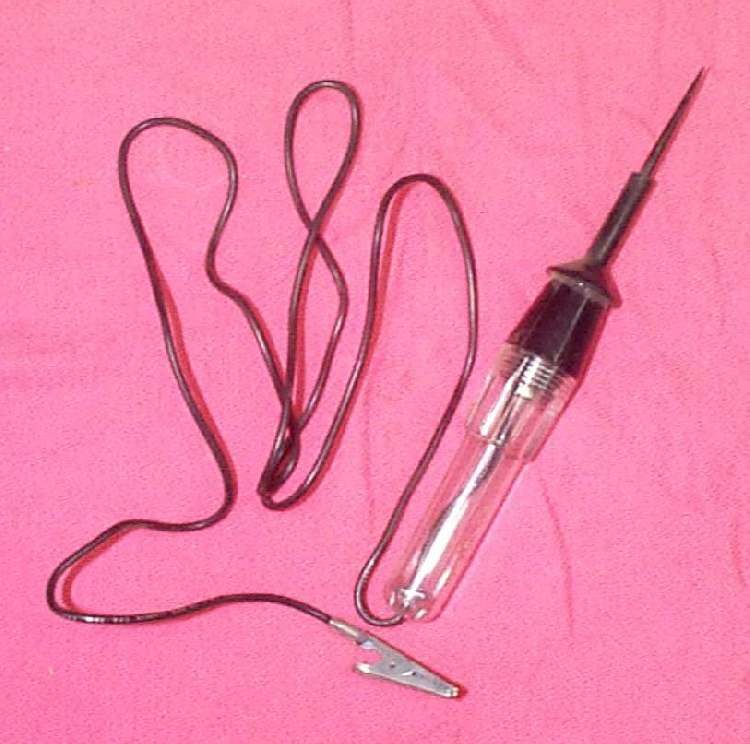
- A circuit tester light with a sharp probe and a clip lead.
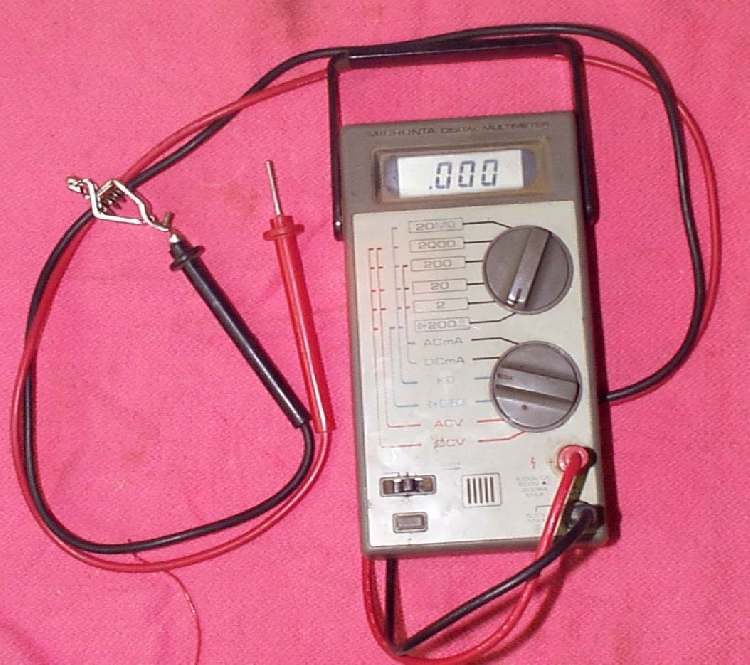
- A multimeter that reads ohms (resistance) and DC volts. A basic one is enough.
- The wiring diagram for your bike, or the wire colours from your manual.
Choose the right tool
| Situation | Tool | What it tells you |
|---|---|---|
| Bike has a battery and the circuit is live | Test light or meter on DC volts | Voltage reaches this point |
| Dirt bike or any circuit with no battery | Meter on ohms | The wire is joined or broken |
| Part removed from the bike | Meter on ohms | The part is open, shorted or in range |
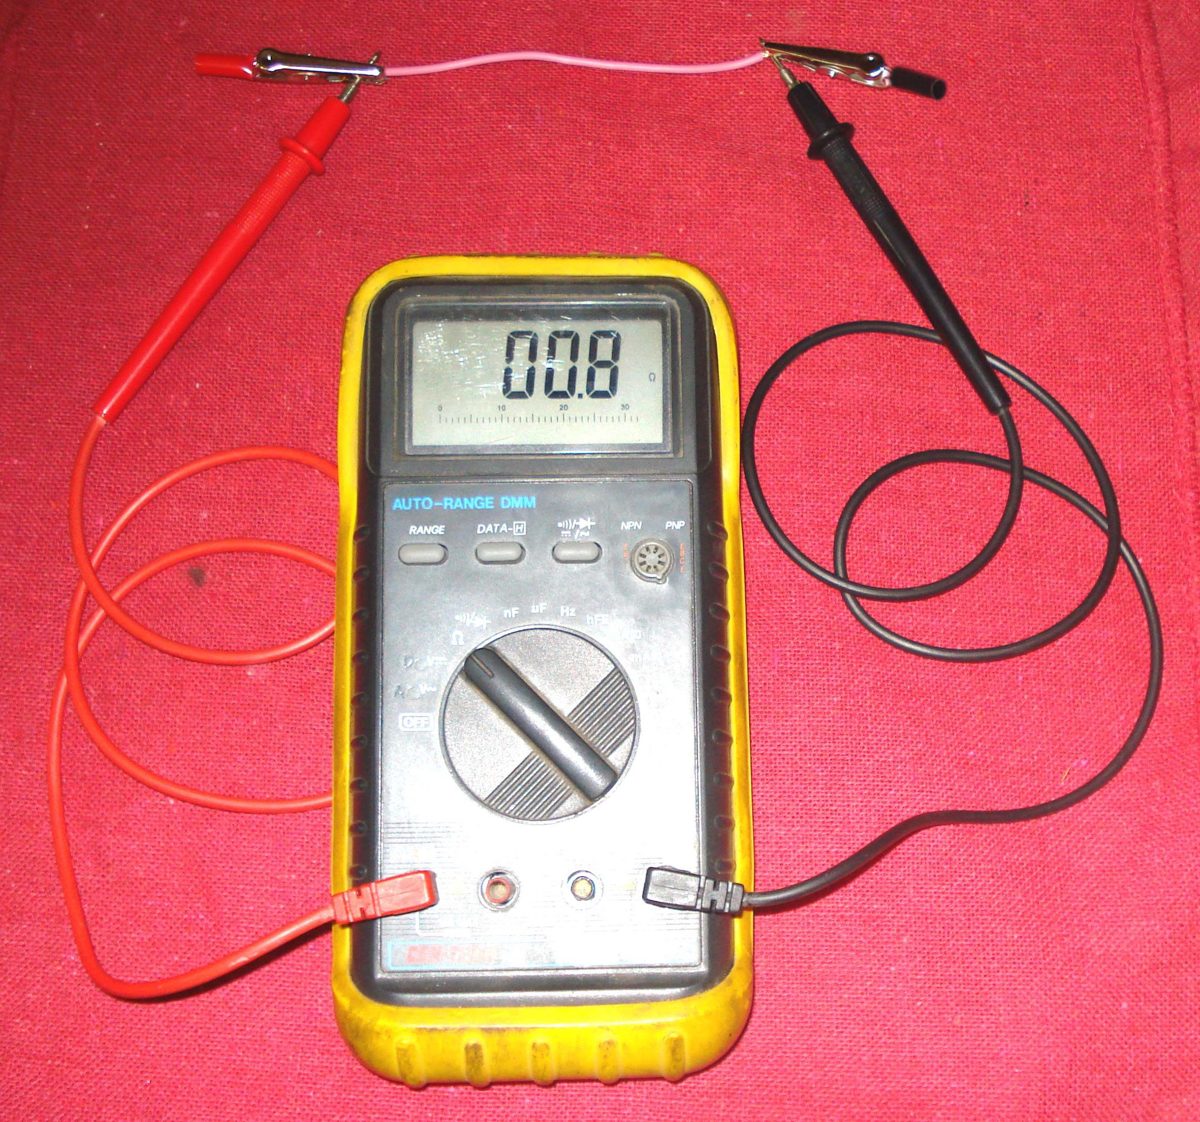
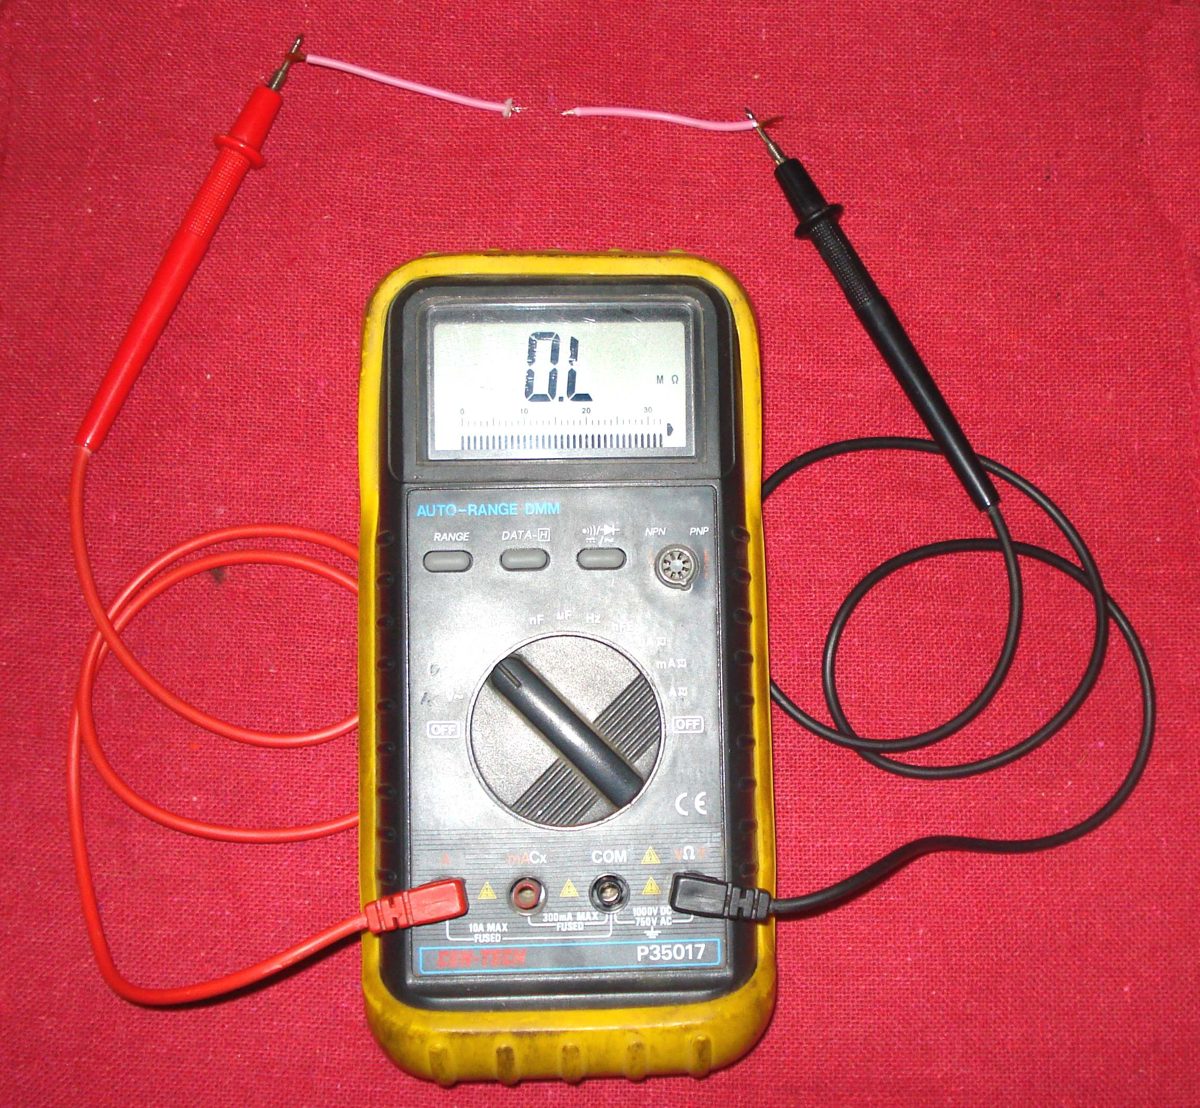
A meter on ohms sends a very small current through the part. A good wire reads close to zero. A broken wire reads OL or infinity, which means open.
Steps
- Find the circuit on the wiring diagram. Note the wire colours from the power source, through the switch, to the part. See Read a wiring diagram and trace a circuit.
- Check the earth (ground) first. Clip the test light lead to a clean bare metal point on the frame.
- Touch the probe to the power wire at the battery or fuse. The light should glow. If not, the fault is in the supply.
- Move along the wire to the first connector. Touch the probe to the wire at each connector or switch. The light glows while voltage is present.
- The place where the light stops glowing is where the fault lies, usually a corroded connector, a broken wire or a bad switch.
- If there is no battery, remove the power from the circuit, then touch the meter leads to both ends of the wire with the meter on ohms. Note the reading.
- Touch the two meter leads together first. The small reading you get is the meter's own resistance. Subtract it from later readings.
- A low reading means the wire is joined. OL means the wire is broken. Wiggle the harness while you watch the meter, because a reading that jumps shows a wire that breaks only sometimes.
- Unplug and replug a connector where the light stops. Clean it if it is dirty. See Clean and seal electrical connectors.
Notes on readings
- Flywheel coils make power only while the engine turns. Unplug them before you test the rest of the wiring.
- Measure parts at room temperature. Use your bike's manual for the correct resistance of each part.
- A part that reads right on the meter can still fail under load. See Do a voltage drop test.
Check your work
- The light glows at every point from the supply to the part.
- A continuity test reads low from end to end of a wire, and OL when the wire is unplugged at one end.
- The part now works with the connector pushed fully home.
If it did not fix the problem
- Work through Find a wiring fault.
- If a fuse blows again, go to Find a short circuit.
- If the fault comes and goes, see Electrical faults come and go.