
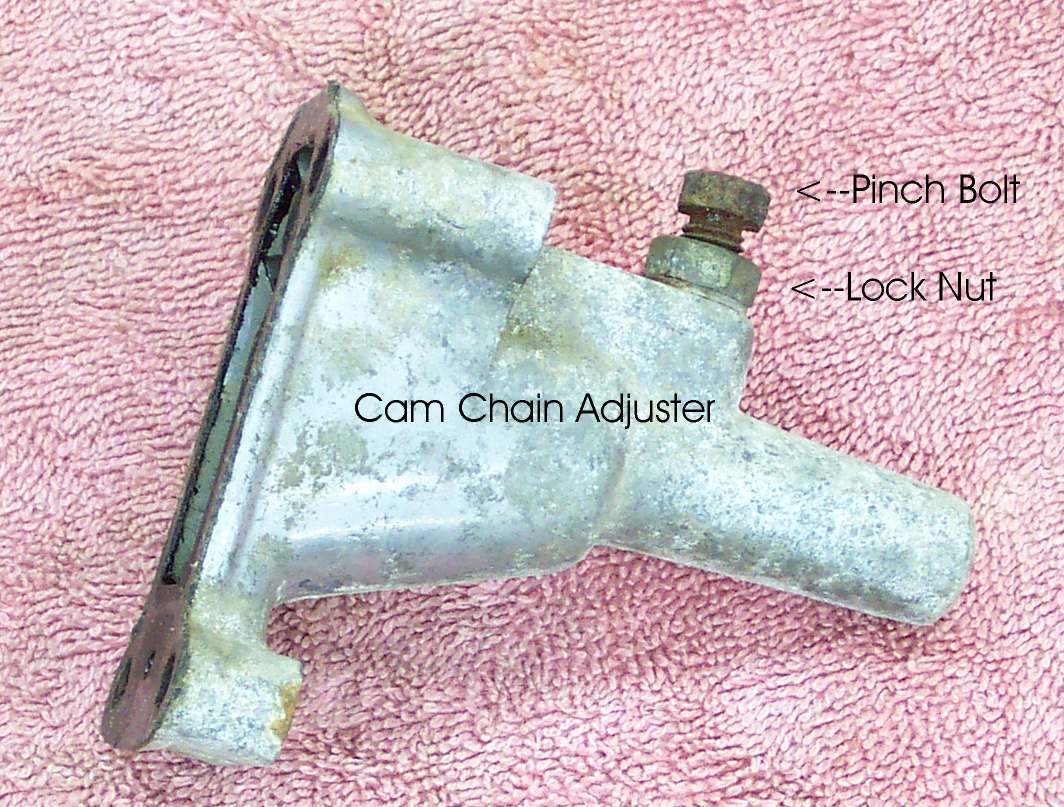
The cam chain connects the crankshaft to the camshaft. A tensioner keeps it tight as it wears and stretches. Newer engines use an automatic tensioner that needs no adjustment. Older engines have a manual one with a lock bolt or screw. When the chain rattles and the engine is older, a correct adjustment may stop the noise. When it does not, the chain is worn and needs replacing.
Safety
- Engine off, cold and in neutral before setting any mark.
- Keep fingers and clothing away from the chain and sprockets if the engine must idle for the adjustment.
- Do not over tighten. A tight chain wears fast, loads bearings and stops the engine from revving.
Types of tensioner
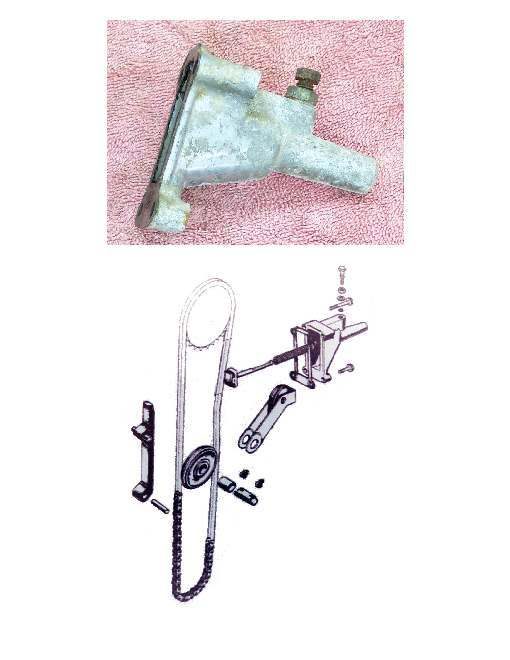
- Manual: a shaft, spring and lock bolt or lock nut set the tension.
- Automatic: spring pressure, sometimes oil pressure, sets the tension. A one-way lock stops it backing off.
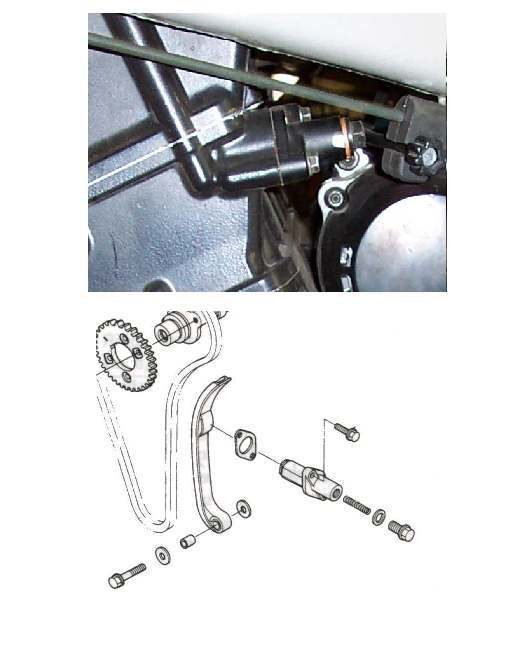
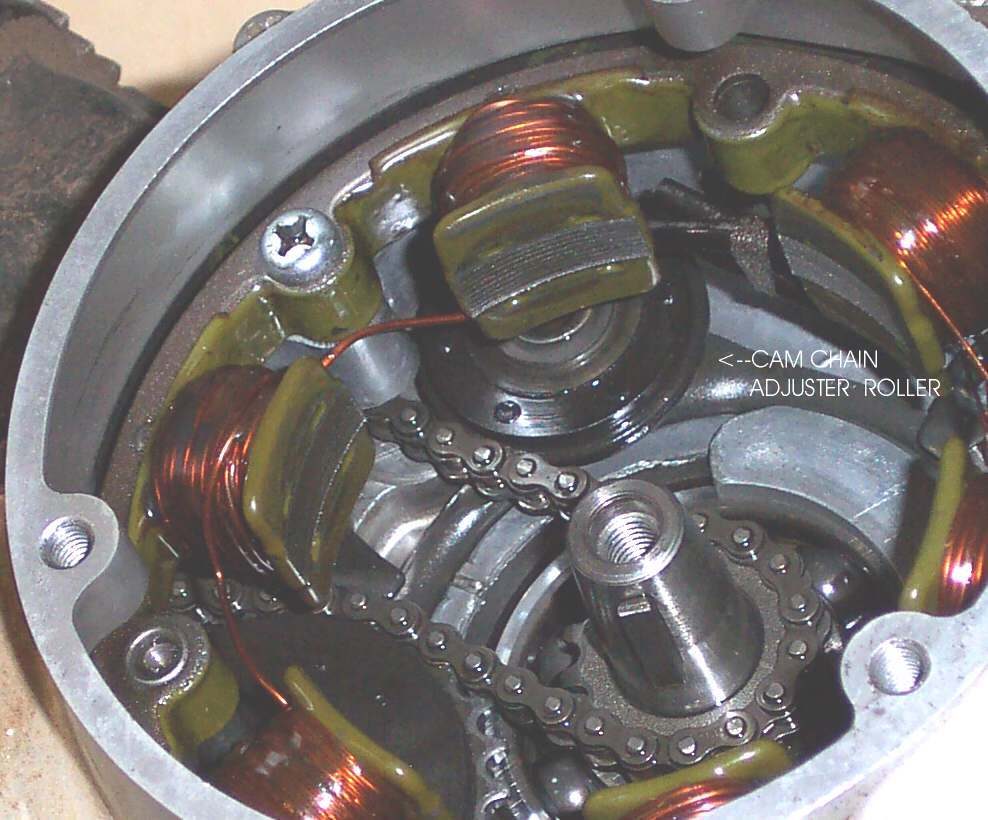
- The part that pushes the chain is a sprocket, a rubber roller or a flexible plate, usually at the rear of the engine.
Steps
- Find the tensioner and its lock bolt. Check the manual for the right position of the engine and whether it must idle.
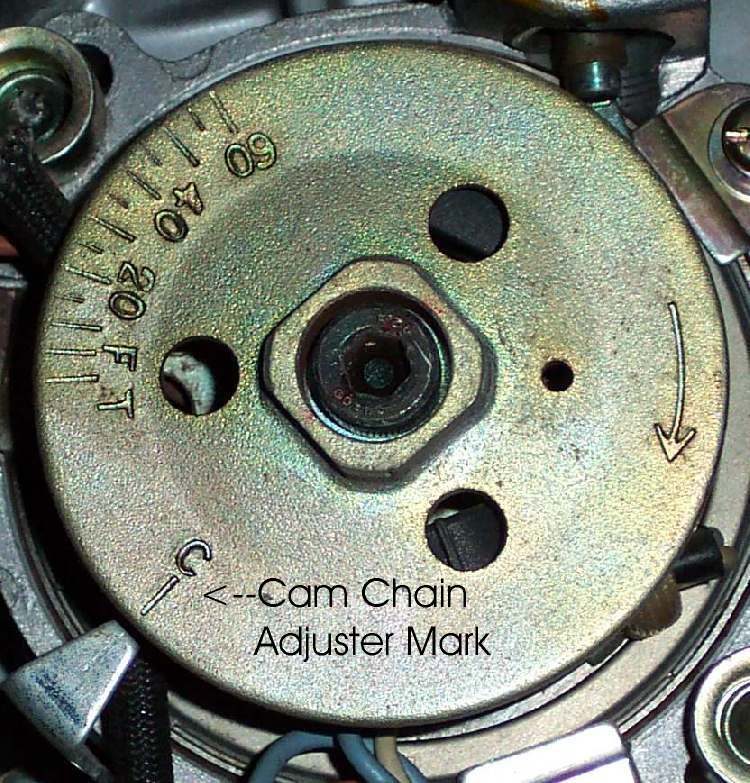
- Turn the engine by hand to the mark on the flywheel given in the manual. This brings the chain slack to the tensioner side.
- Loosen the lock bolt. The spring takes up the slack. On a worn chain a faint pop or click is normal.
- Tighten the lock bolt. On a screw type, set the tension screw as the manual states, then tighten the lock nut.
- If the manual calls for adjusting with the engine idling, keep clear of moving parts and use the lock nut.
- Refit any cap, then start the engine and listen. The rattle should be gone.
If you refit a tensioner
- Fit it in the loosest position, with no pressure on the chain. Release the spring, release the one-way lock if there is one, and push the shaft to its loosest point.
- A tensioner fitted under pressure over tightens the chain. It can break the tensioner or limit engine speed.
Check your work
- No chain rattle at idle or on throttle.
- The engine revs freely.
- Oil is not leaking at the tensioner.
If the noise stays
- If adjusting does not remove the noise, the chain is worn out: Check the cam chain and tensioner.
- A stronger spring or locked tensioner is a short-term fix. The lasting fix is a new chain, and new sprockets if worn.
- A worn chain can jump a tooth and let valves hit the piston, or cut into the case and put metal in the oil.
- Rattle from the top of the engine may also be valve clearance: Check and adjust valve clearance.
When to go to a workshop
- The chain is still noisy after adjustment.
- The sprocket is fixed to the crankshaft and cannot be replaced alone.
- Timing marks have moved or are not clear: Record and set cam timing marks.