
A single or twin engine shakes because the piston and rod move up and down. A counterbalancer is a weight on its own shaft that turns with the crankshaft and cancels most of that shake. It only works if it is timed to the crank. A balancer that is a few teeth out can make an engine vibrate worse than it would with no balancer. This page covers checking and resetting the marks when the engine is opened.
Safety
- Engine cold, ignition off, plug out.
- Never remove a balancer to gain power, unless the crankshaft weights are rebalanced for it. The engine will shake and damage itself.
- Support the engine when turning shafts. Keep fingers out of gears and chains.
You need
- The balancer marks and tightening torques from the manual. They are often hard to find, so confirm them.
- White paint or paint pen and a camera.
- A new cover gasket. A new chain if the old one is worn (balancer chains wear like any other).
Steps
- Find out which type you have. A gear drive has a crank gear that meshes with a gear on the balancer shaft. A chain drive has sprockets and a chain, usually with an adjuster.
- Before disassembly, bring the engine to the mark the manual names (usually top dead centre). Photograph the balancer gears or sprockets and write down where each mark sits.
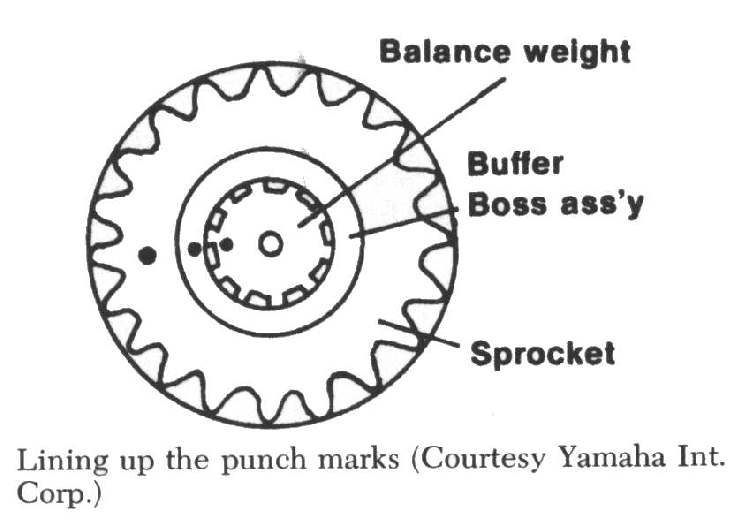
- Make your own marks with paint on the crank gear and the balancer gear if no factory marks are visible, and on the sprockets, chain and case if it is a chain drive. If the shaft has a splined sprocket, also mark the shaft.
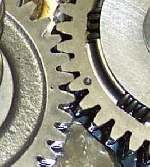
- Gear drive: on assembly, line up the punch marks on both gears. A gear a few teeth out gives strong vibration. The gears may be outside the case under a cover (easy to fix) or inside the crankcase (hard).
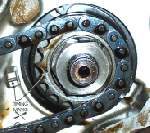
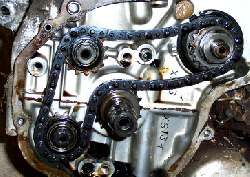
- Chain drive: line up the marks on the drive and driven sprockets with the marks on the case, with the chain fitted. Some chains have a plated link that must sit on the mark. If the sprocket is on a spline, match the shaft punch mark.
- Chain adjusters: loosen the adjuster, let a spring take up the slack, then tighten, if the manual shows that method. Some chains cannot be adjusted. When one wears out, it must be replaced, often with the crankcase split.
- Turn the engine slowly through two full turns by hand and recheck the marks.
- Refit the cover and refill with oil. Start the engine and check for vibration at idle and under load.
Check your work
- All marks agree at the reference position.
- The engine is smooth at idle and across the rev range.
- No chain noise or slack on a chain drive.
If it did not fix the problem
- Vibration remains: New or increased engine vibration, Check engine mounting bolts.
- Check the cam chain and valve timing marks too: Record and set cam timing marks.
- Internal damage suspected: Assess bottom end and internal engine damage.